I mostly used Windows computers for my work. That changed several years ago when I switched to Linux, and later MacOS. Recently, I joined a team working with .NET core for their back-end. This was the first time I did a project while using a Mac for .NET development, which gave me an excellent opportunity to find out how much Microsoft has done to support other OS’es.
I’ll be talking about what I learned on bootstrapping my local machine when working on a dotnet project on a Mac with a team that works with Windows.
Getting started
As all of my other team members are using Windows for development, I had to figure it out myself to get everything up and running on my local machine. For the sake of simplicity, the tech stack can be summarised as follows:
- front-end (angular 5)
- back-end (dotnet core 2.0, with some other dotnet standard projects)
- database (SqlServer)
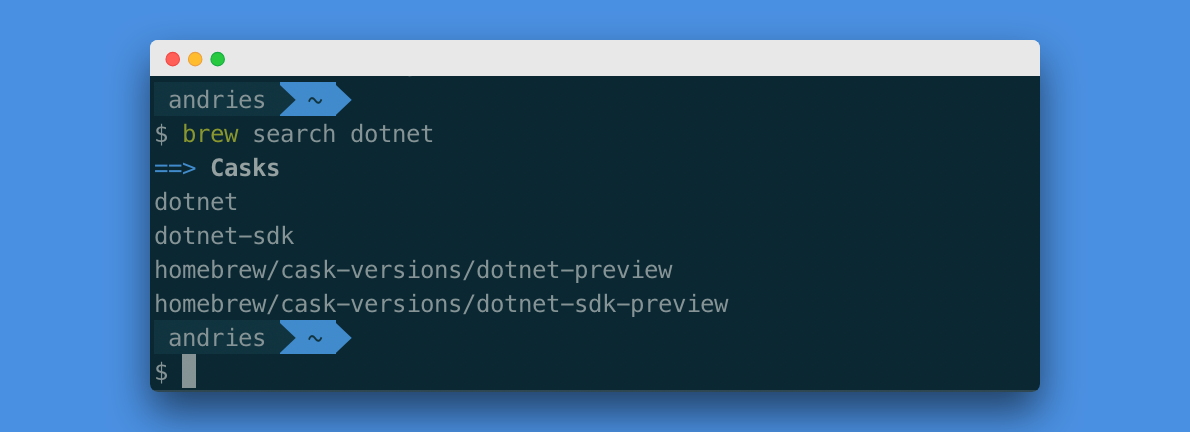
First off, for installing the dotnet-sdk, you have different options. Microsoft nicely explains how to download and use the dotnet-sdk, or — as Mac users often use brew for managing binaries and software — you can use brew to install it.

Choosing an IDE
The most known IDE for developing in the .NET stack is of course Visual Studio … if you are on Windows. I’ve worked with Visual Studio on Windows in the past, but I was never fully convinced about the IDE. Nevertheless, the first IDE for dotnet on MacOS I tried was Visual Studio for Mac. It’s nice that Microsoft makes the effort, but I must admit, I just didn’t like it. It looks like they wanted it to look like Xcode (just compare the screenshots from both websites). But I’ve never been a fan of Xcode too…
I am a fan of Visual Studio Code. And with the C# extension (as Microsoft suggests), you could use this as a starting point for dotnet development. For this project however, I wanted to have a full blown IDE, since the Solution contained different projects with some of them using older dotnet dependencies — because legacy — that I wanted to manage easily.
In the end, I landed on Rider IDE from Jetbrains (which is the same company of probably the most know Visual Studio plugin Resharper). Since I was already familiar with their other IDE’s, like WebStorm and IntelliJ, it was a breeze to get started with it. They support Mac, Linux and Windows. I can highly recommend it, so give it a try if you’re interested and grab their 30-day free trial license.
The Database
SqlServer
Setting up SqlServer on Mac is a bit different than doing it on Windows. This article explains you all the details on how to do this. In essence, it comes down to running docker container on your Mac from an image supplied by Microsoft themselves. So first pull the image from the docker registry.
docker pull microsoft/mssql-server-linux:2017-latestNext, start your container with the following parameters:
docker run \
  -e 'ACCEPT_EULA=Y' \
  -e 'SA_PASSWORD=<YourStrong!Passw0rd>' \
  -p 1433:1433 \
  --name sql1 \
  -v /path/to/local/folder:/var/opt/mssql/data/local \
  -d microsoft/mssql-server-linux:2017-latest
Stopping, starting and removing your database is now as simple as:
docker stop sql1
docker start sql1
docker rm sql1
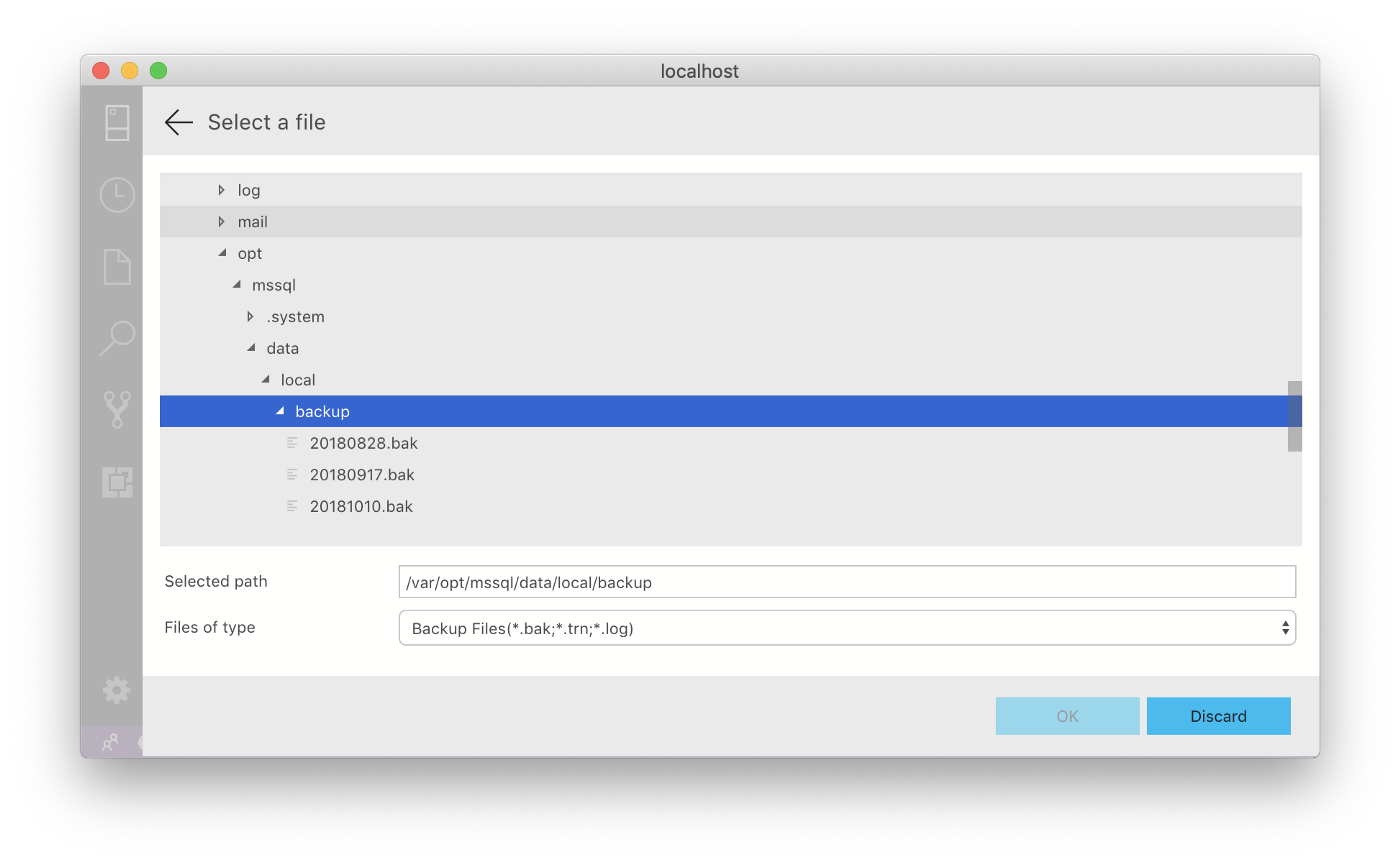
That’s it! You can check the logs with docker logs sql1 -f. Notice however the volume parameter supplied to docker. This is necessary if you want to restore your local database from a local back-up file: Your docker container needs to be able to find the file on your host system, so you mount a local path, to a path within the docker container. Now you can place your *.bak files inside /path/to/local/folder and they will show up on /var/opt/mssql/data/local inside the (ubuntu) container, as you can see in the the screenshot below.

Sql Client
On Windows, Sql Management Studio would be a standard choice for a database client, but it isn’t Mac-friendly. Recently however, Microsoft started developing Sql Operations Studio, which is build on top of a skeleton of Visual Studio Code. Sql Operations Studio (which has now been renamed to Azure Data Studio) runs on Windows, Linux and Mac. It is a lightweight client which has all the functionality I needed.
Connection Strings
For local development, the team uses a appsettings.local.json file. The connection strings for this local appsettings file have the following format:
Data Source=.;Initial Catalog=<catalog>;integrated security = true
Because integrated security is more a Windows feature, I couldn’t use this type of connection string locally. I also didn’t want to force all of my other team members to change their local configuration. I solved this problem by creating a new file appsettings.local-mac.json where I copy-pasted the content of the local settings file, and changed the connection strings to use standard username and password authentication (also supplied in the startup script of the docker container above):
Data Source=localhost,1433;Initial Catalog=<catalog>;User ID=SA;Password=<YourStrong!Passw0rd>
To enable this appsettings file for my local system, I only needed to set the environment variable ASPNETCORE_ENVIRONMENT to local-mac when running the startup project, which can be easily configured within Rider itself.
Database migrations (Entity Framework)
One of the problems where I struggled a lot is database migrations. On Windows, you can run the following in a terminal inside Visual Studio to generate migration files:
Add-Migration <name-of-migration> -startup MyProject.SqlServer.Startup -context MyContext The dotnet version is:
dotnet ef migrations add <name-of-migration> --startup-project MyProject.SqlServer.Startup --context MyContextNormally, this should work. Only it didn’t. Apparently, problems with dotnet ef have existed for some time now. The problem I was having existed because some dependant projects where not dotnet core projects. This stackoverflow thread highlights the problem and possible workarounds. In the end, it was solved by adding the Nuget Package Microsoft.EntityFrameworkCore.Design to the right projects, together with changing the project TargetFramework from netstandard2.0 to netcoreapp2.0.
Integrating sql-server in docker with Rider IDE
If you like to access your sql-server instance straight from your IDE, then have a look at this recently published blogpost from JetBrains explaining how to integrate your sql-server instance, running in docker on your Mac , into Rider IDE itself.
Other issues encountered
Path syntax
When I tried running the test-suite, I noticed that about 5 percent of the tests were failing. The purpose of these tests was loading and parsing text-files on my local filesystem. The accompanied text-files for testing were all included in the repository, however the path to them was the source of failing tests. The paths where specified as:
var stream = File.OpenRead(@"TestData\some-test-file.txt")In Windows, paths with backward slashes \ work. But on Mac and Linux, paths are written with forward slashes /. Changing these backward slashes to forward slashes fixed the tests on my system. After checking with the other team members, I found out that Windows had no trouble to parse paths with either forward- or backslashes in the dotnet core codebase. So after changing all affected tests, the problem was fixed.
External dependencies
When running the code, some Nuget packages were throwing errors of missing dependencies that were not included in the Nuget package itself. My team members using Windows didn’t experience these errors. The package in question was some sort of ExcelHelper package. After some googling, I found out which binaries I needed. And with brew to rescue, the problem was easily fixed after brew install mono-libgdiplus.
Conclusion
Gone are the days that you have to run a full Window VM on your Mac to develop in a .NET stack! Hope this helps fellow Mac users to try the native way of developing .NET applications on their system.
Cheers!
Last modified on 2018-11-12